CryoPaint Sample Installation Guide
The 4 oz sample exists so you can test radiative cooling material for yourself, and it works well for very small projects too.
What the 4 oz sample is for
The CryoPaint 4 oz sample is intended to be used to test radiative cooling material. It is also great if you have a really small project. Applied with a 3/8-inch nap polyester roller from a tray, the 4 oz sample covers 2 sq ft to 3 sq ft.
Why it uses more paint per square foot
The sample uses more paint per square foot than our gallon and quart sizes because you lose about an ounce to the roller itself. Additionally, because you're applying the paint to such a small surface area, we recommend you put it on thicker. You can learn more about why surface area matters on the How It Works page.
Prime your surface first
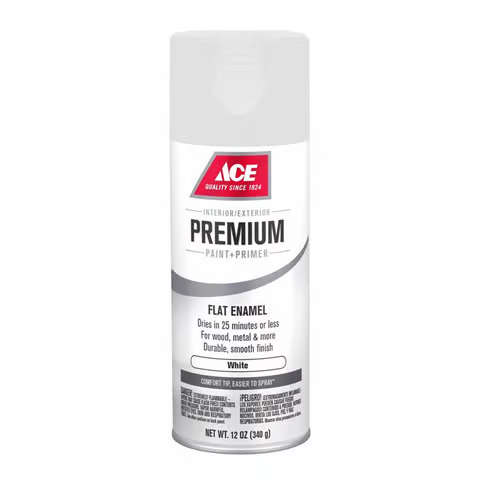
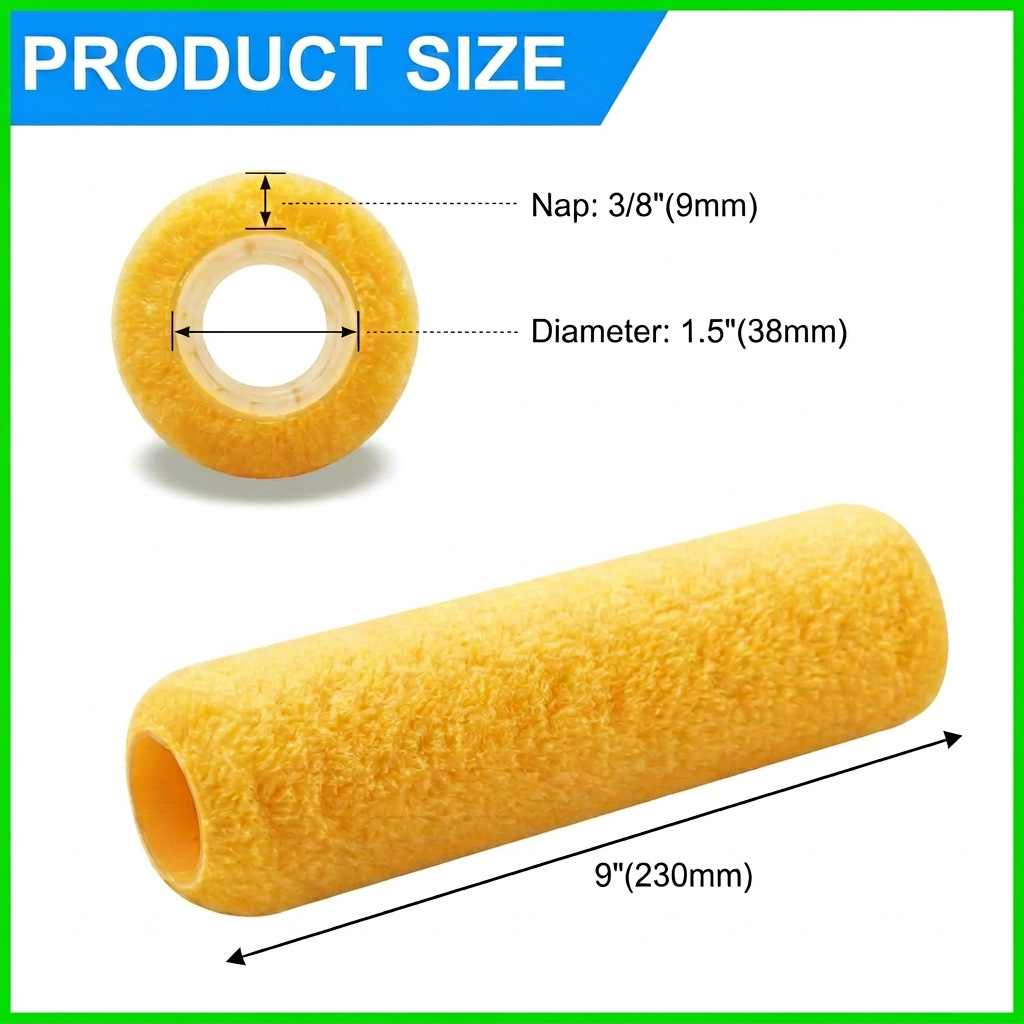
Prime your surface first with any off-the-shelf matte white primer and let it dry, then pour CryoPaint into a small roller tray and apply it with a 3/8-inch nap polyester roller loaded from the tray. We sell rollers, along with the sample, at www.cryox.us. Nap thickness is what matters, not roller width. Skip sprayers entirely at this size.
Amazon links: primer, 4 oz sample.
We sell a roller on our purchasing page at www.cryox.us
Step-by-step
- 1
Get your sample
The CryoPaint 4 oz sample ships in a small box. Pick out a small, rigid, conductive test surface when you are ready - a piece of metal, a small metal lid, or a metal tray works well. It should be one contiguous piece and its own separate object, not attached to anything else.
- 2
Prime your surface
Coat the test surface with any off-the-shelf matte white primer (like the Ace Premium flat white below) and let it dry. Priming takes a minute to set up and a while to dry, so doing it now lets the surface cure while you get the paint ready.
- 3
Open the box and unscrew the cap
Take the bottle out of the box and unscrew the outer cap.
- 4
Pull out the safety seal
Inside the neck there is a foil tab seal, the same kind that seals a medicine bottle. Pull it all the way out and discard it.
- 5
Cap it and shake it really well
Screw the cap back on and shake hard for at least 30 seconds. The paint is thick and the solids settle, so it needs real mixing.
- 6
Get a 3/8-inch nap polyester roller and a small tray ready
A 3/8-inch nap polyester roller is the only tool you need for the sample. Any width works. You also need a small roller tray or shallow disposable tray to hold the paint. Do not use a sprayer for 4 oz of paint.
- 7
Pour some paint into the tray
Pour about a quarter of the bottle into the tray, not straight onto the surface.
- 8
Roll on the first coat
Load the roller from the tray and roll a thin, even coat across the surface. A roller lays down about 0.3 oz/sq ft per coat. Reload from the tray as needed. Do not dump or pour paint directly onto the surface and try to smooth it out with the roller.
- 9
Let it dry, then keep adding coats
You will know a coat is dry because it turns from almost blueish to matte white. Wait 30 to 45 minutes between coats, refill the tray as needed, and keep rolling thin coats until the bottle is empty. That is about 5 coats on 2 sq ft, or about 3 to 4 coats on 3 sq ft. Going thicker is fine.
- 10
Use the whole bottle, then let it cure
That is the whole method: thin coats until the bottle is empty. Let the panel sit at least 24 hours before touching it. Your surface is now a passive daytime radiative cooling surface.
Paint the entire object or panel, not a patch of a larger metal surface. Uncoated metal next to your test area takes in far more heat than the painted area can shed, which hides the cooling effect.